
Here's our October Mailer for Once Upon A Sketch. Norm, Edrian and I will be mailing these bad boys out pretty soon! Just in time for Halloween!!!


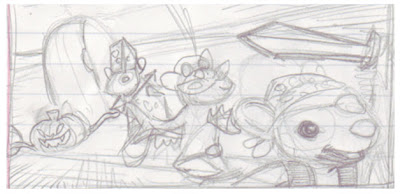
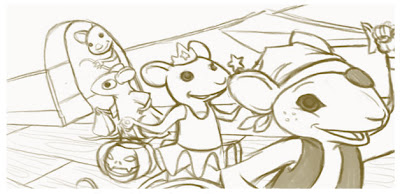
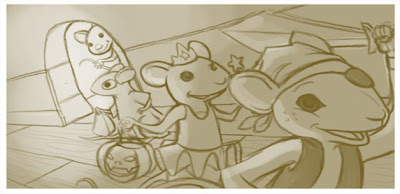
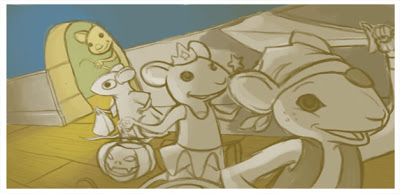 4. I start laying in some base tonal colors for the background. If I had more time I would have layed in base tones on every character as well. But time was short and I had a good idea of what colors the costumes and whatnot were going to be.
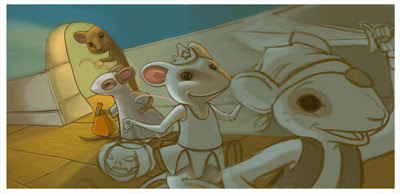 5. At this stage I start painting in the characters from the background to the foreground. You can really do this in any order that you like.
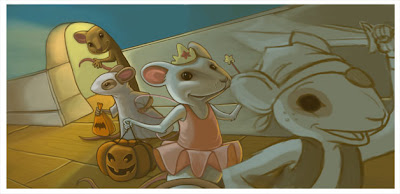 6. Moving more and more forward. It's the fairies turn!!
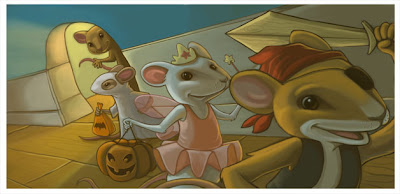
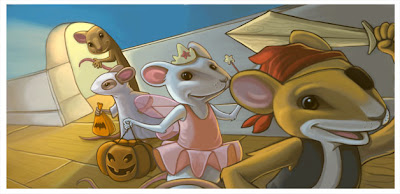 8. I use curves, levels and adjustment layers to pull out the green and boost my colors from being so murky. (Layer/Adjustment Layer/Curves-Levels) Curves to remove the Green and Levels to brighten my lights and remove murkiness. Isn't Photoshop great!!! Now I have a finished image ready to be added to our mailer in time for Halloween!