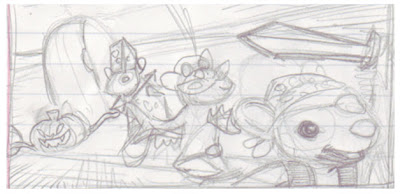
1. Roughs-Of course, we start with the initial scribble. I do this on any paper, any where, whenever the idea hits and I happen to have paper and pencil ready. It doesn't need to be fully fleshed out but enough that by the time I get home to scan it in, I'll still have some idea what the heck the idea was.
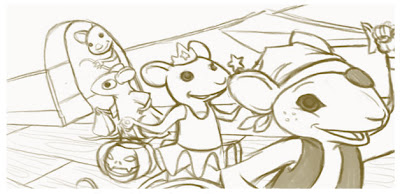
2. Tights-Here I refine the image more. Sometimes there will be a stage between this and that really rough sketch above. But time was of the essence and I had a pretty good idea of the direction I wanted this to take.
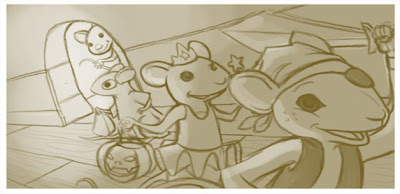
3. Light source study-I threw these tones in to give myself a rough idea of the light source. I laid a flat tone of brown in another layer and dropped the opacity down. Then I used the eraser to act as the light source and erased where the light was touching and generating from.
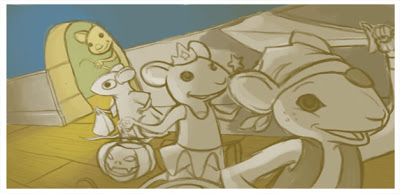 4. I start laying in some base tonal colors for the background. If I had more time I would have layed in base tones on every character as well. But time was short and I had a good idea of what colors the costumes and whatnot were going to be.
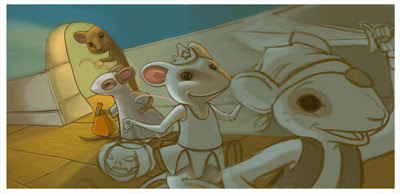 5. At this stage I start painting in the characters from the background to the foreground. You can really do this in any order that you like.
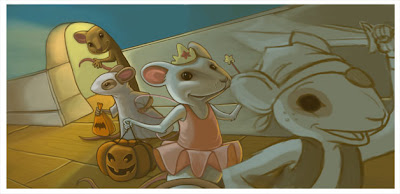 6. Moving more and more forward. It's the fairies turn!!
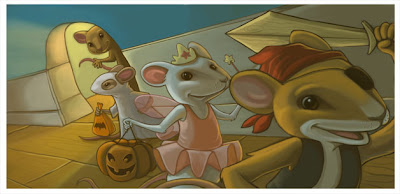
7. You'd think I was done at this stage, but with a break and a return to the image I realize how very, very GREEN everything is looking! Must correct that!
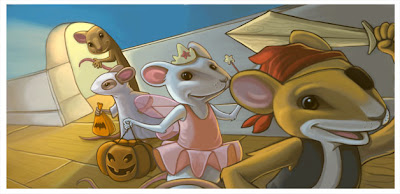 8. I use curves, levels and adjustment layers to pull out the green and boost my colors from being so murky. (Layer/Adjustment Layer/Curves-Levels) Curves to remove the Green and Levels to brighten my lights and remove murkiness. Isn't Photoshop great!!! Now I have a finished image ready to be added to our mailer in time for Halloween!
Let me know if you have any questions!!

4 comments:
Fabulous process photos. I love seeing this. So helpful, especially that final adjustment stage. Looks great. I love your method for laying in the value study. I will definitely implement that method in my work.
YAY! I'm glad it's helpful for you Jennifer!! I plan on recording the process on the next piece and posting a speed video. Hopefully that will turn out good. Let me know if you have any questions!
Hi! I use a process similar- but I was wondering have you tried using multiply layers for lighting. If not give it a try. Once you figure out your light source you can then use an overlay layer with color to quicky give you your values.
Hey Tony!! I sometimes use multiply to lay one flat base tone over everything. I've never tried to use it as a light source! I'll try that next time!! Thanks!!!
Post a Comment